Hi, class, I am very worried about some of you in this class. I didn't see much work from about half of the class. I understand that you all are busy people with busy lives and that this is not your only class, but there are only a few weeks left. Bear with it and you will be happy with the end results. This is not the class you want to miss very often, and you DEFINITELY do not want to ignore this blog. You will soon find, if you fail to do homework, that there is no hope of catching up. This week's posting concerns creating complex symbols. The main difference from class and this posting is that I discuss a different character, the cow instead of the dog. This part of making animations, the creating of animated symbols within symbols is an extremely important aspect of making animations in Flash. It is imperative that you understand this issue. So, even if it is a completely different animal or character from the last posting or from what we did in class, I'm still talking about the same idea: First, we make a series of graphic symbols; and then we combine them into a movie-clip symbol that encompasses the others. For the homework, I want you to continue working on the complex symbols, the dog, the cat, and the cow. Make sure that you've got them looking nice for next week's class, and try to animate them so that their heads are moving back and forth. You should also try making their eyes animated as well so that they blink. For the cat, I want to see at least an attempt to get it to play the fiddle, even if your attempt is unsuccessful. I can always help you correct mistakes. The biggest mistake you can make at this late point in the class is not even to try. Have a nice weekend. Carter-
- TOPICS:
- Complex Symbols:
- LINK Graphic Symbols—creating the initial graphic drawings of your characters, and creating all of their parts as individual symbols;
- LINK Nested Symbols—placing symbols within symbols;
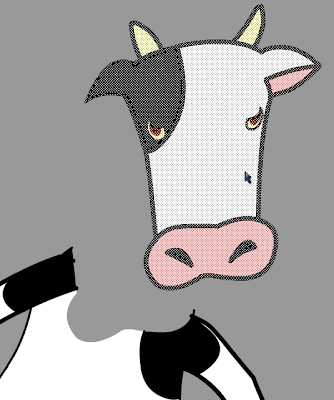
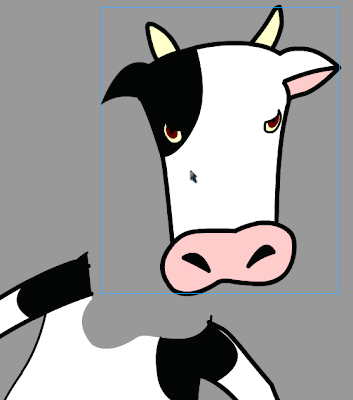
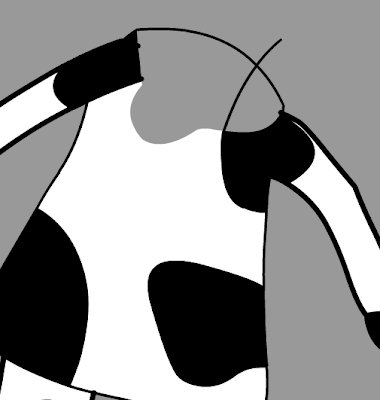
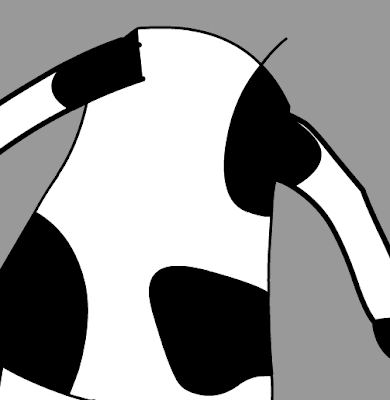
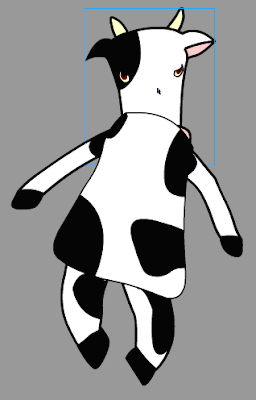
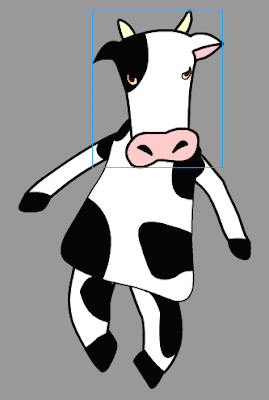
- LINK Animated Symbols I—animating symbols within symbols: moving the cow's head;
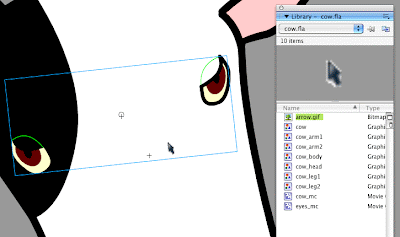
- LINK Animated Symbols II—animating symbols within symbols: giving the cow blinking eyes;
- LINK Animated Symbols II—animating symbols within symbols: making the cat play the fiddle;
- Complex Symbols:
- HOMEWORK:This week, work on your animation projects. We will be working on these animations from now until the end of the term. The assigned homework is always going to be the minimum amount you should accomplish during the week, so I highly recommend you do much more each week.
- Continue work on creating complex symbols for your characters as demonstrated in class, and in this week's posting.
- For your cow and dog symbols, attempt to add the necessary animation. If you look at the storyboard, you will see that their heads move back and forth.
- Also, make all of your characters have blinking eyes.
- STORYBOARD: below you will find links to each of the pages of the storyboard containing 3-frames each.
- LINK Frames 1-3
- LINK Frames 4-6
- LINK Frames 7-9
- LINK Frames 10-12
- LINK Frames 13-15
- LINK Frames 16-18
- LINK Frames 19-21
- LINK Frames 22-24
- LINK Frames 25-27
- LINK Frames 28-30
- LINK Frames 31-33—not yet complete.
- CHARACTER SYMBOLS:
- Graphic Symbols—making the entire drawing one single symbol:
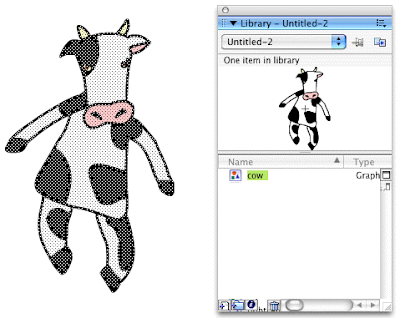
- Following last Monday's class, after you have drawn your cow character, select the entire drawing (if there is nothing else on the stage, click in frame 1 of the layer to this).
- Click on F8 to Convert to Symbol.
- Give it a unique name (name it cow), select graphic for behavior, and then click okay.
- Complex Symbols—creating nested symbols: symbols within symbols
- Movie-Clip Symbols—combining all the individual graphic symbols into one single movie-clip symbol:
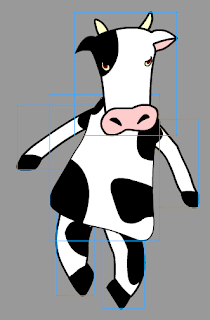
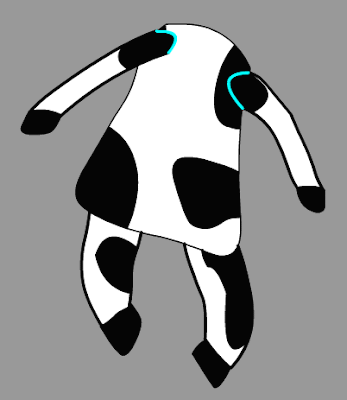
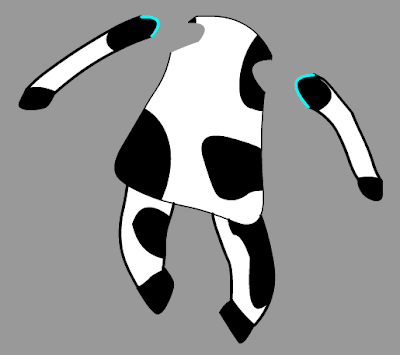
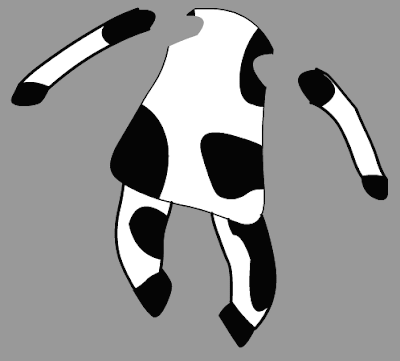
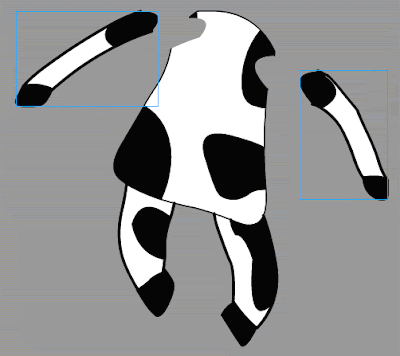
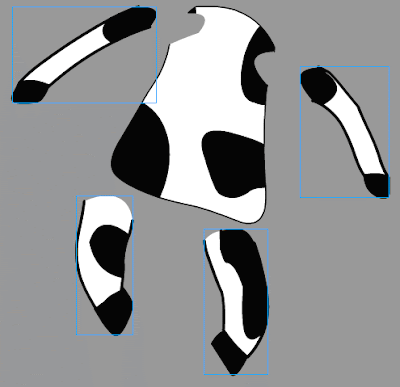
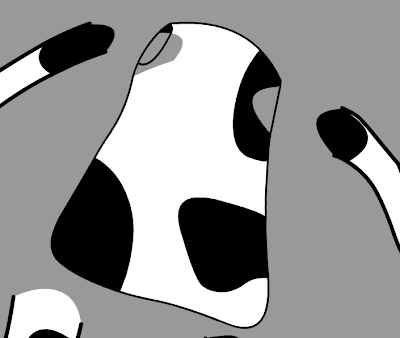
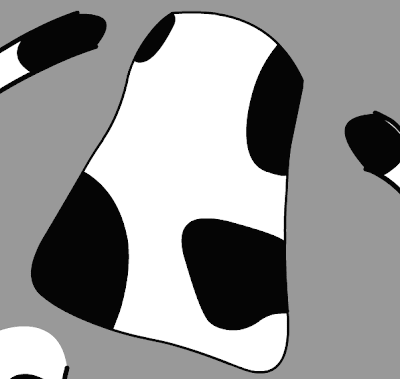
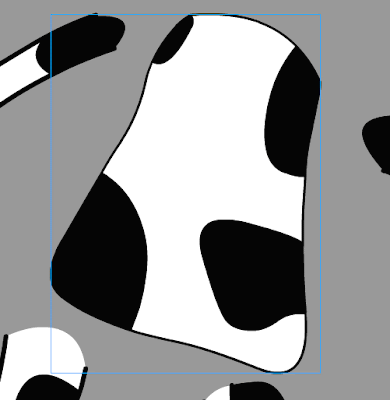
- Once the cow is reassembled and looks like it did originally, we will put it together into a single symbol. As it is now, it is composed of six parts: the head and the body, the two arms, and the two legs; but we want to envelope all of these parts together in a single symbol. To start, we must select all the symbol instances, each of the body parts together.
- They must all be selected in order for this to work, so make certain you see blue boxes around them all. If so, then click on F8, convert to symbol.
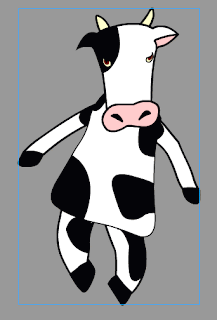
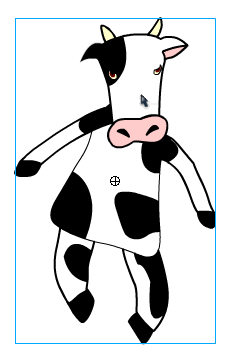
- Give this new symbol the name of cow_mc, select Movie Clip for type, and then click okay.
- Animated Symbols—creating symbols that move: Moving Head
- Animated Symbols II—creating symbols that move: Blinking Eyes
- Graphic Symbols—making the entire drawing one single symbol:
- Animated Symbols III: making the cat move and play the fiddle;
1. The first part of today's class will hopefully be a bit familiar as it is the same as what we did with the cow's head. The cat will be playing the fiddle, so like the cow and the dog, we want the cat's head moving back and forth to the music. That is where we will start. If we begin where we left off in the last blog entry, we are in the very last frame of our animation. If you have closely followed what we have been doing in this blog, then your last frame is probably around frame 340. So, once you scroll there, you need to lock all layers except the cat layer. Since this is the layer we will be working in, there is no need to have any of the other layers open. Locking them, therefore, will prevent us from making mistakes. 2. Now, click in the last frame of the cat layer and add a keyframe (F6). Since we will eventually be changing something about the cat—making it look out at the audience and smile at us—we need to add a keyframe. Remember, keyframes are required if ever you wish to make something move, or change something within the animation. However, we are not going to make the cat smile or look at us just yet. First we want to finally get the cat to start playing the fiddle for us. Since this action is going to be a repetitive movement, it is perfect for a movie-clip symbol. That way, we only have to make it move in one cycle, and the movie-clip will play in a continuous loop. Graphic symbols do not do this. Therefore, we have to edit the symbol. If you recall, we already made all of our characters into nested movie-clip symbols (week 7), we can just add some animation to it, and we will be good to go. 
3. Next, double-click on the cat symbol on the stage to enter symbol-edit mode. 
4. If you have only one layer here, then we'll have to separate everything out into different layers. So, first, click in frame one. When you do this, everything becomes selected. If you see a bunch of blue boxes, then you're in good shape. This means that each of the cat's parts is a separate graphic symbol, all here within the main cat_mc symbol. If not, if everything has white dots, then make sure you turn each part of the cat into a graphic symbol before you can proceed. 
5. Once everything is selected, the move the arrow (selection tool (V)) over the cat and right click. Then choose distribute to layers. This will put each of the graphic symbols in a separate layer. It will also name the layers according to the name of the symbol. If any of the layers are blank, or have an untitled name, then you should delete them. 
6. Now, lock all the layers except the cat_head layer. Depending on how your cat looks, and how many different parts you have created, the stacking order of your layers may be different from what you see above. 7. Now, select the free-transform tool (Q) so that we can position the head to begin looking like it is moving back and forth to the music the cat is playing. 
8. Click on the image above to make it larger. You should see that once you select the free-transform tool, you then have to move the rotation point, the small white circle that is now in the center, down to the point where the cat's head meets its neck. The reason for this is that the neck is where we rotate our heads, so if the cat is going to be moving its head back and forth, it only seems natural to have it occur at its neck, and not around its nose or eye!! Don't put the rotation point right exactly at the edge where the head meets the neck, but slightly above it. This will make the rotation look better, and seem more lifelike. 
9. Then, rotate the cat's head a little to one side. Don't rotate it too much as you don't want the cat to look as if its neck has broken. 
10. Then, click in frame 20 of the cat_head layer and add a keyframe (F6). Since we are going to be making the cat's head move back and forth as if to the music, and since this is all happening within a movie-clip symbol, it will be a looping animation. We only need make the cat's head move from one side to the other, and then back again one time. And, since it is a movie-clip, it will automatically loop indefinitely when played. Because of this, because it will loop around over and over, in which the end of it is really the beginning of another loop, the last frame must be the same as the first frame. When we added a keyframe, this copies the previous keyframe in frame 1 and places a duplicate in frame 20. Therefore, now frame 1 and frame 20 are the same, which is as we want it. If you click in frame one, and then in frame 20, you will see nothing on the stage changes. This means they are the same. 11. After that, extend the duration of the other layers to frame 20 by clicking F5. 
12. Next, click in frame 10, and add another keyframe, F6. 
13. Choose the free-transform tool (Q) again, and rotate the cat's head in the other direction a little. 
14. Finally, right-click between the keyframes, and select create motion tween. 
15. That completes the head movement, so if you test the animation, you will see that the cat's head moves back and forth. The next part that we have to add to this movie-clip, is to make the cat play the fiddle. We will take similar steps to make the cat's arm move as if it is playing the fiddle with the bow. The first thing we need to do, then, is to lock the cat_head layer, and unlock both the bow layer as well as the arm layer, which in my case is named cat_arm2. However, we are only going to work with one of those layers at a time, so hide the bow layer. 


16. We will do several things to the arm to make it appear as if it is moving the bow across the strings: - We must move the rotation point;
- skew the arm downward;
- Rotate it a some;
- Stretch the length out a little;
- And, adjust it at the top where the arm meets the shoulder to remove the gap.

17. Next, show the bow layer and move the bow so that it looks as if the cat is holding it. You may need to rotate it in order for it to look right. 18. Click in frame 10 of both the cat_arm2 and the bow layers and add a keyframe (F6); then, click in frame 20 and add another. This will make the keyframes 1, 10, and 20 all the same. 

19. Now, click in frame 5 of both those same layers and add yet another keyframe (F6), but here you will need to transform the arm so that it looks like it has pushed the bow upwards. 
19. After that, click in frame 15 of both the bow and the cat_arm2 layers again, but this time add a blank keyframe (F7). You should notice that this time there is no black dot, but instead a white circle. This means the frame is empty, or blank. 
20. Let's stop for a moment and assess what's happening in all of these keyframes: in frames 1, 10, and 20, the arm and bow are in the down position, and in frame 5, the arm and bow are in the up position. The way it works up to this point is that in frame 1, the arm starts down. It moves up in frame 5, and then moves back down in frame 10. What we're working towards then is an up/down/up/down/up positioning. This means that in frame 15 we want the arm to be up again. The easiest way to do this is simply to copy and paste the objects from frame 5 to frame 15. Therefore, click in frame 5 of the cat_arm2 layer and copy (ctrl-C). Then, click in frame 15 of the same layer and paste-in-place (ctrl-shift-V). Repeat the same copy and paste steps for the bow layer. 21. Once completed, then add motion tweens all the way across both the bow and the cat_arm2 layers. You now have a cat that moves its head and plays the fiddle.





No comments:
Post a Comment