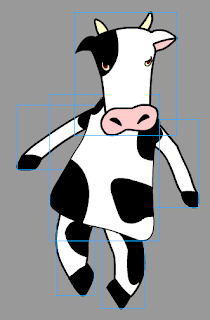
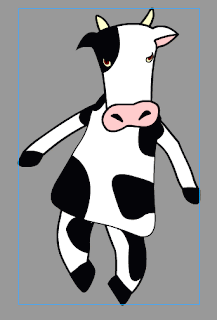
- CHARACTER SYMBOLS:
- Graphic Symbols—making the entire drawing one single symbol:
-
Here I am going to show you also how you might create a character symbol. It is a complex symbol, so it involves multiple symbols, many of which are nested. This simply means that there are some symbols which are inside of other symbols.
-
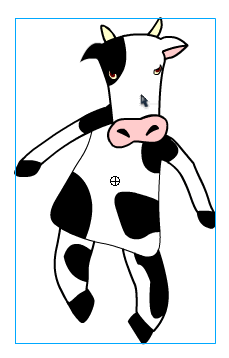
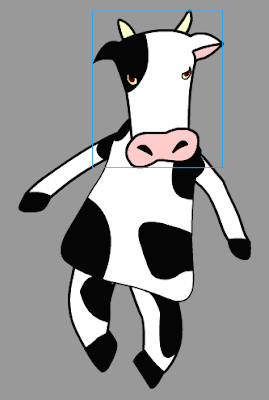
The first thing you must do is draw your character.
-
Now, after you have drawn your character, select the entire drawing (if there is nothing else on the stage, click in frame 1 of the layer to this).
-
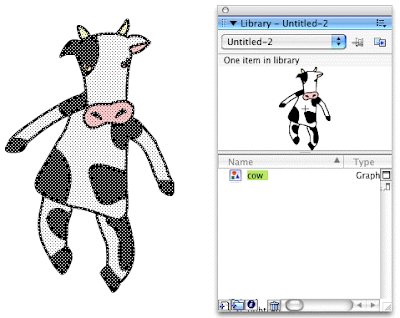
Click on F8 to Convert to Symbol. Obviously, if you have already converted it into a graphic symbol once, you do NOT need to do this step again.
-
Give it a unique name (name it cow if it is a cow, for example), select graphic for behavior, and then click okay.
- Complex Symbols—creating nested symbols: symbols within symbols, that is what we will begin working on in this section.
-
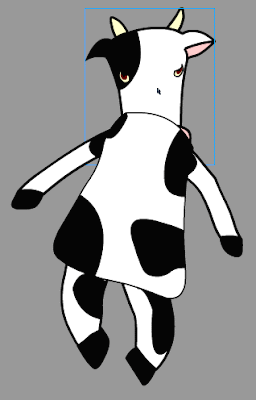
Sometimes it is necessary to create complex symbols. In the following situation, we will make the head, the body, the legs, and the arms into separate symbols. First, we must break apart the graphic symbol that we have already created. To do this, select the cow symbol by clicking on it one time.
-
Next, break the symbol apart by selecting ctrl-B. At this point, the drawing of the cow on the stage is no longer a symbol instance; however, if you look into the library, you will see that you still have the symbol there.
-
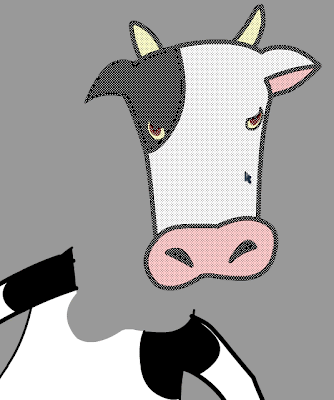
Now, select only the head of the cow. To do this you must use the arrow tool, and zoom up very close. Make certain you get all of the pieces of the cow’s head in the selection. It is very important that you do not leave any piece of the head out of your selection.
-
Next, once you select the head, choose the arrow tool (V) and move the head away from the body.
-
If you find that there are pieces of the head left out, little fragments of lines or color, then undo until the head goes back into place, and try selecting again.
-
Once you select the head and move it away from the rest of the cow’s body, then convert it into a symbol (F8).
-
Give it the name cow_Head, select graphic for behavior, and then click okay.
-
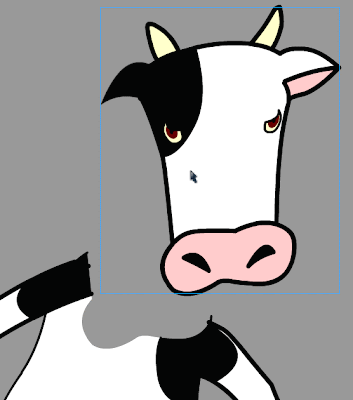
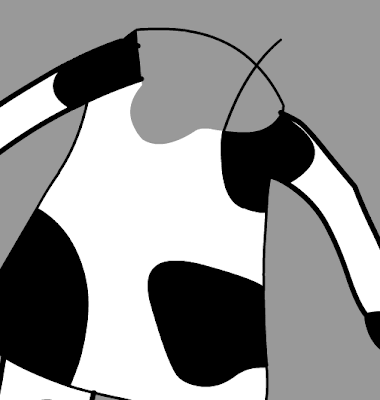
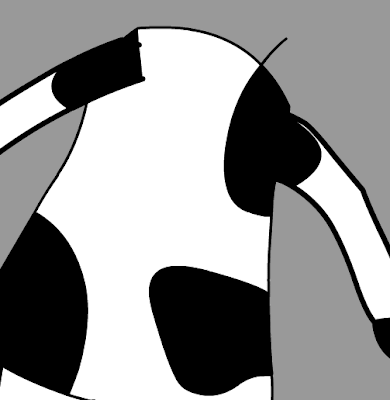
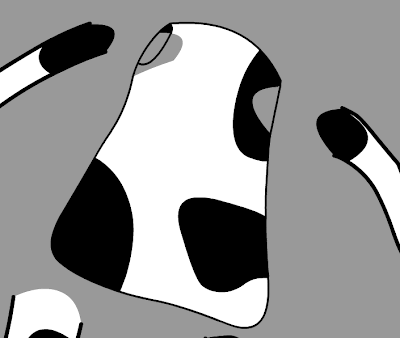
Now, look at the cow’s body. You should notice that there are little gaps in the body where the head used to be. Fill in these gaps and round them out.
-
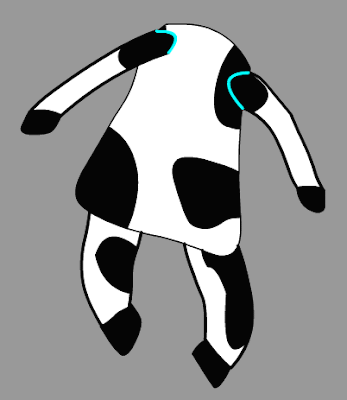
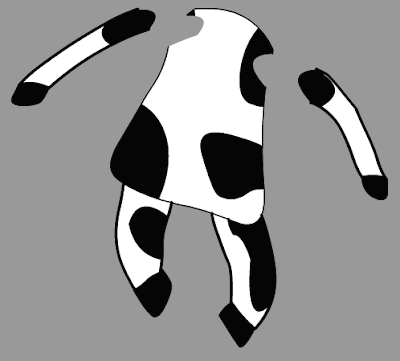
Once done, let us try and select one of the arms of the cow; however, you will probably soon see that in such a case, when you click on the black area, it selects the black on the arm, as well as all the black on the body. So, we'll have to separate the arm from the body by drawing a single line. We can do this with a colored line so that we can see it stand out from the rest of the drawing. We will also know that we have to later delete the line. We can do so with both arms right now.
-
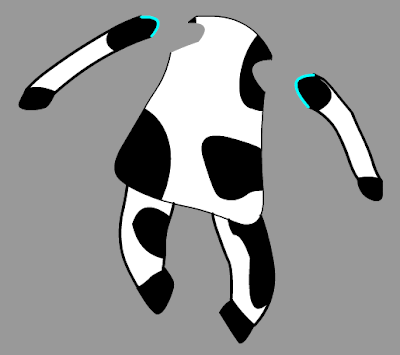
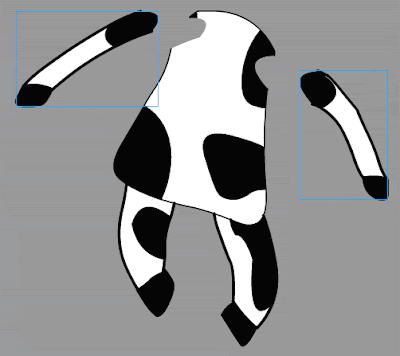
Now, double-click on one of the arms and move it away from the body. Then, do the same thing to the other arm.
-
Remember to delete those lines that you drew to separate the arms from the body.
-
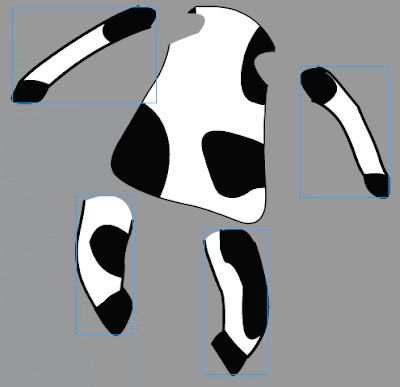
Then, select one arm at a time and convert them to graphic symbols. Name them cow_arm1 and cow_arm2.
-
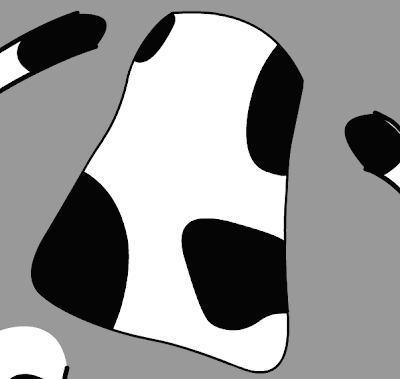
We need to do the same thing for the legs, although with this particular cow, they will be a bit easier than the arms. Therefore, simply select each leg, one at a time, move them away from the body, and convert them into symbols named cow_leg1 and cow_leg2. Don't forget to round out the tops of the legs, and to remove the strokes there.
-
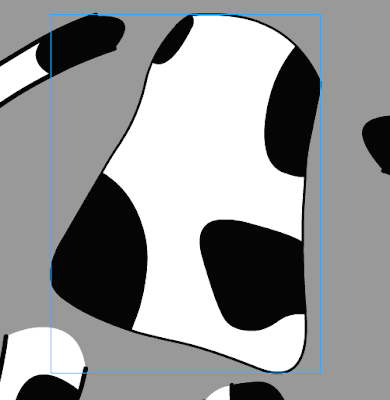
Before we convert the body into a symbol, you may have noticed that there are gaps missing from the body, chunks cut out where the arms used to be. We must fill these two areas in before we convert the body into a symbol. To do this, we must use the line tool again to close off the spaces, and then the paint bucket to fill them in.
-
Finally, select the body, and convert it to symbol (F8). Give it the name cow_body, select graphic for type, and then click okay.
-
Now that we have at least five graphic symbols, you may try to put them all back into place, as in a puzzle. You will find that the head is below the body, partially hidden by the body. To correct this, select the head by clicking on it one time.
-
Next, go to Modify >> Arrange >> Bring to Front. This will put it above the body. Repeat this for the arms so that they are also above the body.
- Movie-Clip Symbols—combining all the individual graphic symbols into one single movie-clip symbol:
- Once the cow is reassembled and looks like it did originally, we will put it together into a single symbol. As it is now, it is composed of six parts: the head and the body, the two arms, and the two legs; but we want to envelope all of these parts together in a single symbol. To start, we must select all the symbol instances, each of the body parts together.
- They must all be selected in order for this to work, so make certain you see blue boxes around them all. If so, then click on F8, convert to symbol.
- Give this new symbol the name of cow_mc, select Movie Clip for type, and then click okay.
